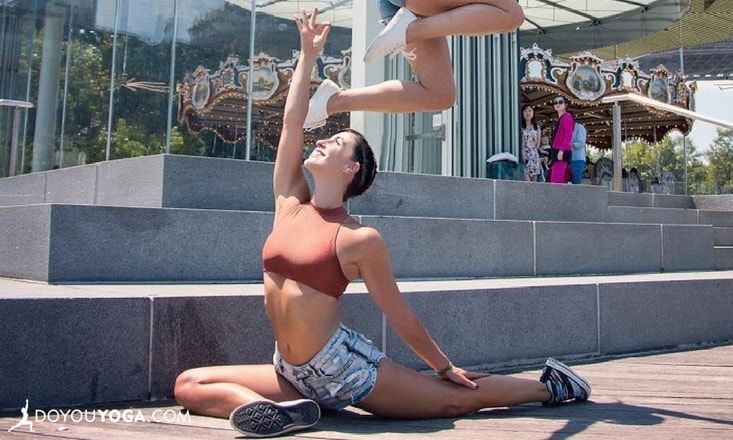
One of the most requested asanas in any yoga class is the Pigeon pose, also known as half Pigeon, one-legged Pigeon or in Sanskrit, Ardha Kapotasana. The pose is well loved for its ability to deeply stretch the hip muscles of the front leg, lengthen and extend the hip flexors of the back leg and to relax the mind.
Like the many names the pose may be called, there are multiple variations you can practice to protect the knees and hips while getting the benefits of this powerful hip-opener.
Is Your Body Ready for Pigeon?
To fully express Pigeon pose, the front hip needs to rotate out to about 90-degrees. The issue is that many bodies are not able to do this without some practice, if at all. If the hip does not meet this 90-degree mark, other areas of the body can become prone to injury, especially the hips and the knees. Explore these variations to find what works best for your body.
1. Reclined Pigeon
Don’t be fooled by the “reclined” part of this Pigeon pose variation. It is a great way to stretch the hip and can be safer and simpler than its upright cousin. Also called “Reclined Pigeon”, this variation is performed on the back and is a great way to protect the knee while stretching the hip that is crossing over the opposite thigh. This variation can also be used if you have low back pain. To enter the pose, lie on the back and bend the left knee toward the chest.
2. Pigeon with a Forehead Perch
Many students enjoy bringing their heads down in Pigeon pose to increase the stretch and to relax their head. If you are unable to bring your head near the floor, simple prop yourself up with a block. Place the block under your forehead, just above your eyebrows. Make sure the block is steady and stable before allowing the head to rest completely.
3. Upright Pigeon with the Back Knee Bent
Bringing the torso forward may help to deepen Pigeon pose, but it can also cause stress on the front leg and the knee. To avoid this strain, simply keep the torso in an upright position. If you find that your hips aren’t able to lower down with the back leg stretched, bend the back leg and keep both the front and back toes flexed.
Allow the knees to rest on the front knee and ankle, or out to the sides of the hips for additional balance and support. If your hands do not touch the ground, place two blocks next to the hips to elevate the ground up to your level.
4. Pigeon with a Hip Perch
Your hips may not be able to touch the mat in this pose and that is okay! Raise the floor up by placing a block or a blanket under the front hip. Adjust the block or blanket as needed to feel stable, and either stay upright or begin to release the torso forward. The higher the front leg is, the more protective it is toward the knee. Listen to your body and notice where you need to perch!
5. Standing Pigeon Pose
Also known as “figure-four”, this standing version of Pigeon pose is great for improving balance, lower body strength, and like any good Pigeon pose, stretching the hips! To enter the pose, start in Mountain pose and hug the right knee toward the belly. Slowly begin to bend the left knee and place the right ankle on the left thigh. Bring the hips back and bring the torso forward, reaching the hands toward the ground.
For additional support, find a sturdy window sill or ledge you can grab onto and lean back. This will help to explore the pose without having to worry about losing your balance, as well as give you a shoulder and arm stretch.
Pigeon pose comes in many forms, and it is important to listen to and respect your body regardless of the type you are practicing. Don’t go too deep, too fast—enjoy exploring the benefits each of these variations offers your body and mind.
Image credit: Dina Ivas
