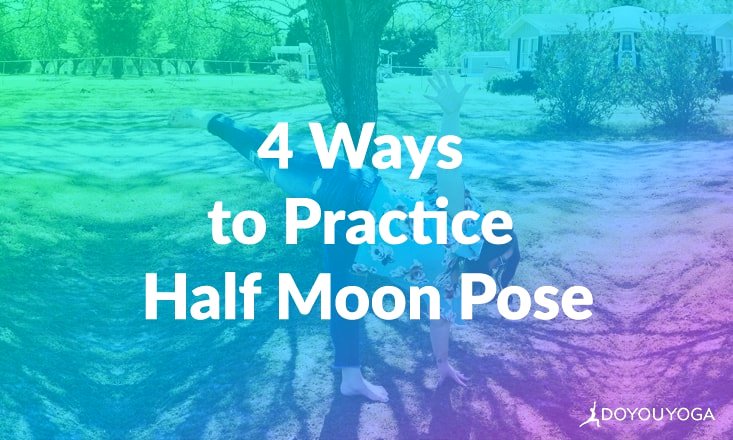
What we think a yoga pose is “supposed” to look like can often cause discomfort, frustration, and/or injury because it’s not what our body needs to reach the intention of the pose in question.
Half Moon or Ardha Chandrasana is one of my favorite poses, but for some, it’s a frustrating b*tch of a pose. When you do this pose, do you feel super duper wobbly, or crunched up? Or do you experience freedom and expansion?
This pose definitely is an experience of finding release within super charged activity. The trick with this pose is the more muscles you activate, the easier it will be to balance. We often fling ourselves into the pose without checking into which muscles to engage, while stacking your joints.
For Half Moon, the intention is to have open rotation in your shoulders, hips, and full extension of your spine and hamstring— all while your balancing leg points to the top of the mat, and the rest of your body faces the side of your mat. We often see one hand propped on the floor, however, this not the intention behind the anatomy of the pose.
When we think that our hand has to touch the ground because that’s what it “should” look like, it can get our body into trouble. You’ll feel your hamstring tremble from trying too hard to extend, your chest and shoulders round and collapse towards the floor, an overstretched sensation in your low back as your back leg flails back behind you—these will leave you wobbling all over the place.
When you let go of the “should” response with this pose, you can then discover how to be free in this pose. Learn how to customize the pose for your practice for your physical needs. Here are four ways to approach Half Moon pose.
1. Free Standing
This is a great variation to challenge your balance. To practice free standing Half Moon from Extended Side Angle:
- Gaze at the top of your mat and shift your weight into your front foot. Plant your bottom hand about 18in away from your front pinkie toe – this gives your torso space to fully extend out.
- Lift your back leg off the mat up towards the sky and flex your back toes to your kneecap powerfully.
- Reach your back arm up towards the sky.
- Straighten your front leg, push down through your big toe mound for balance.
- Ignite your obliques (your side bodies) so you can begin to lift your bottom hand off the floor. Perhaps start with your finger tips.
- Fix your gaze at one point the entire time to help your balance.
Double check that your bottom foot points straight to the top of your mat, versus sickling your foot inward. (Note: This is super common, but jacks up your bottom knee over time and misaligns your joints stacking.) Over time, work towards lifting your hand fully off the floor so you can fully extend both sides of your ribcage. This will help you to prevent slumping into your low back, and over stretching your lumbar spine which does NOT feel good.
If you feel like you’re falling backwards, draw your floated foot forward an inch or two. If you’re falling forward, draw your floated heel back an inch or two.
2. Grab Some Blocks
This variation is great to gain more hamstring and side body extension, and add a challenging balance to the pose.
- Grab one or two blocks. Set the block(s) 18in or so from your pinkie toe. Like in the “Free Standing” variation, plant your bottom hand on the blocks to the height that gives you the most opening and extension for your front hamstring AND side body.
- Follow the rest of the steps from above, in the Free Standing variation.
3. Lean Against a Wall
This variation is great for more stability, especially if you feel super wobbly in the pose.
- Place your blocks and body next to a wall.
- Follow same steps as above in the “Grab blocks” variation, with the exception that your back is against the wall. THIS will help you not fall over and you can fine tune where to engage, flex, and extend.
4. Kick Against a Wall
This variation is great for more stability, and how to engage your back leg for better balance and extension. If you find that your back leg likes to droop, try this one.
- Place your blocks and body NEAR a wall.
- Plant your legs into a Warrior II position with the knife edge of your back foot to where the floor and wall meet.
- Shift your weight forward, plant your hand with block(s) 18in in front of your pinkie-toe edge.
- Lift your back leg up and place your back foot onto the wall. Inch your back foot up the wall to be in line with your hip’s height.
- Push, push, PUSH your back foot into the wall. This will help you not to fall, AND engage your back leg properly for stability. With the stability, you can fine tune to engage, flex, and extend, or even perhaps practice lifting your bottom hand off the floor into the “Free Standing” shape.
What’s your favorite way of getting into Half Moon pose that helps you gain stability? Share in the comments below!
